I had a pile of items that needed mending that I worked on this week. I also have a couple of knitting updates to share.
Mending
Let’s get to the mending first.
I had several pairs for socks that had holes. I also had one pair that was knit toe up that needed the bind off repaired. In addition to these items, my favorite pair of finger-less mitts had a small hole. Last, my youngest son’s Christmas stocking had sprung a leak.
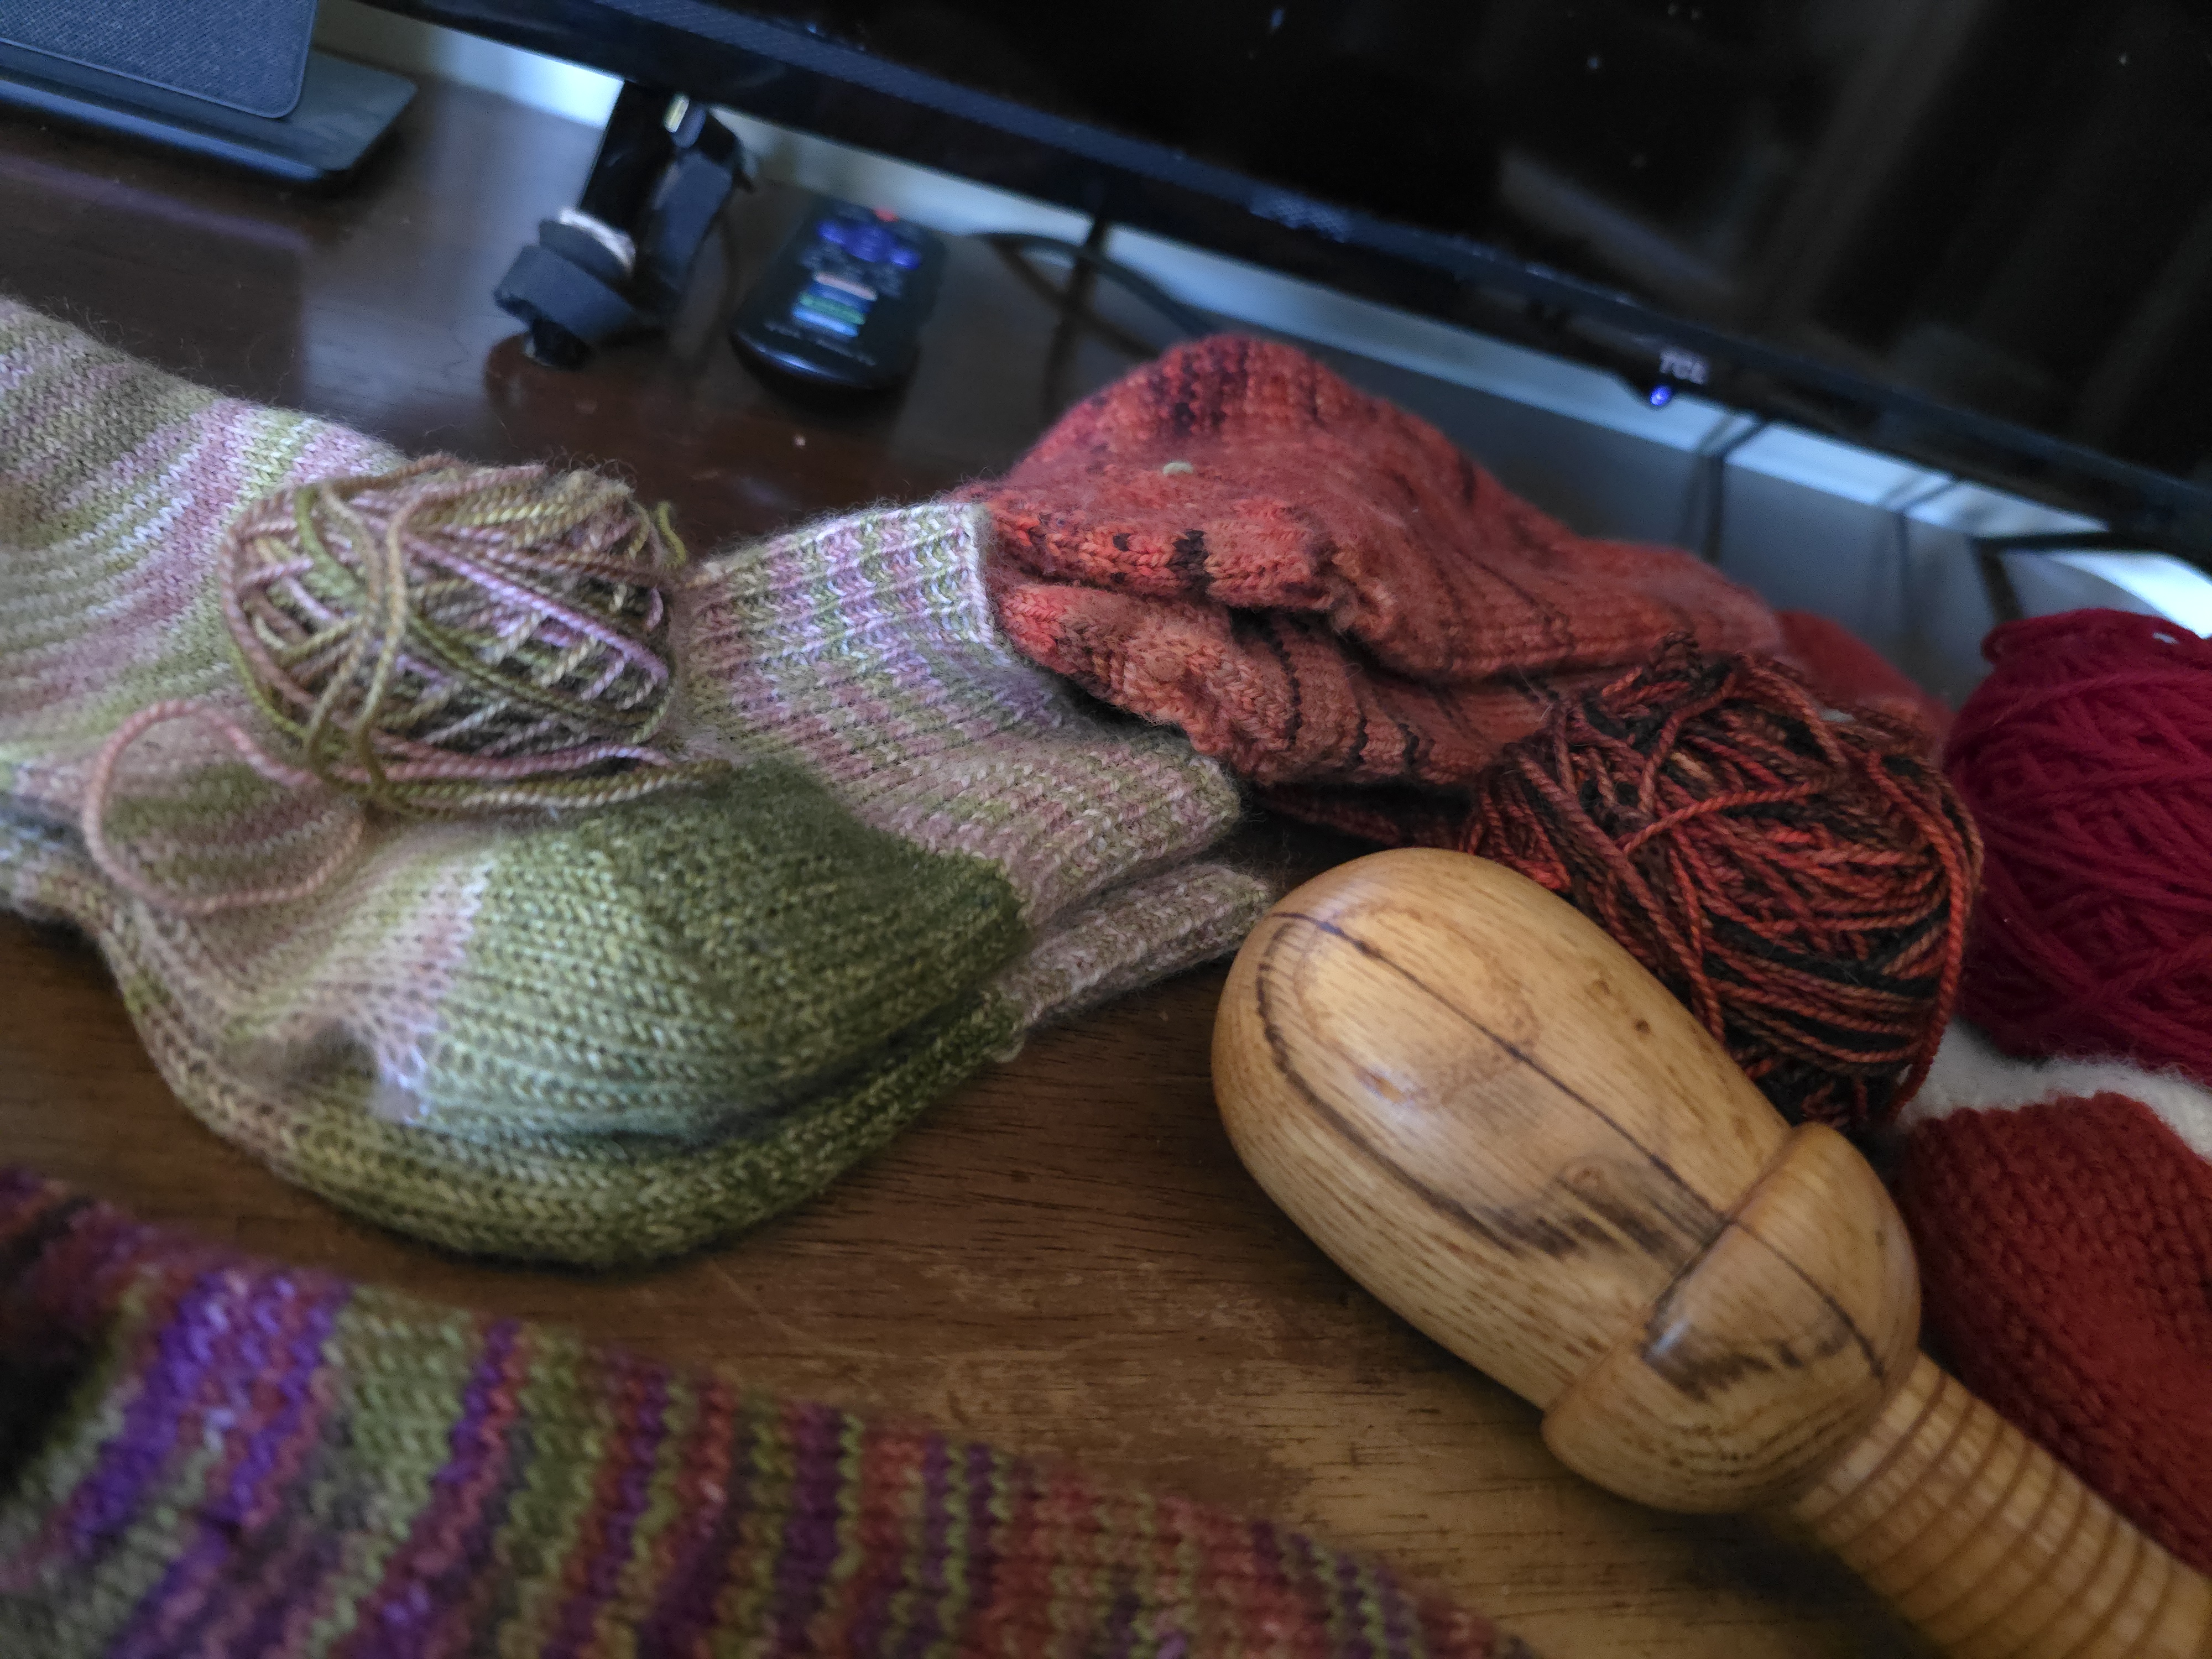
I arranged the items and some tools, including some needles and a Darning Egg, and set in to work.


I tackled the easiest mending first. The sock that needed the bind off repaired was a quick fix. Next I worked on the finger-less mitt. It was simple to pick up the row of stitches above and below. Since there was a small gap of 2 rows between, I just grafted that back together. So, I was off to a good start, and feeling accomplished. I fixed the stocking in the same manner as the mitts, since it wasn’t something to be worn. It was good enough for my purposes.

Now it was on to the three pairs of socks. There were a few holes and a few places where it was just worn thin with fabric remaining. I started off with the idea of swiss darning, in both types of damage. I tried using the method where you create a network of strands over the holes. Then you use those to use for anchor the swiss darning to the fabric. I abandoned that method because I found it tedious. I also attempted to use the technique for the thin places. I disliked that as well. I had trouble with the small stitches.

After searching on YouTube, I found another technique that I liked much better. It is essentially a knitted patch that you anchor to the fabric as you create it. I ended up using this to fix both the holes and the thin spots. I am happy with the result too. The patches bond and flatten with the sock and are comfortable on the foot.

It is easy to do. You pick up stitches a few rows away and wider than the area you want to cover. Attach your yarn and begin knitting flat. You need to have a length of yarn that will be adequate for the whole patch. Thread the other end with a darning needle. At the end of each row, thread the needle through a couple of bars, in between stitches, to anchor the patch as you knit. I also slipped the first stitch in every row.


When the patch is large enough, pick up stitches to graft it to the fabric. I did this two rows beyond the patch to allow it to flatten. The grating adds a row, so you don’t want that to buckle. I found that my Darning Egg was most helpful for the darning needle portions of this repair technique.


Knitting
Now, let’s talk about my knitting updates.
I finished the back piece of my vest design that I have been working on. I was glad that it blocked out to the size I wanted. I had been wondering if my gauge was on target, and it is.

I will be starting the front piece soon, but I am into sock again lately. I went stash diving and wound up a hand dyed sock blank I have had for 12-15 years maybe? I cast on with 0 US (2mm) needles in a 2×2 rib. I plan to keep the rib on the instep. It’s my favorite plain sock formula. I am looking forward to seeing how the colors play out.


Here is how it looked before I wound it. You can knit straight from the blank, two at a time. I don’t care for that however, so I wound them onto two separate ball winders. I started from the center where all the blue was so that would be to color of the leg. I will probably knit the first sock entirely, then cast on the second before starting the vest front. I am too curious about the sock to work on anything else right now.

I really like your vest. My son has indicated he would wear a vest so I’m highly interested in the pattern once it becomes available. I also think it would make a great sweater.
Awesome! It would make a great sweater. I don’t plan to draft sleeve caps for that, but if you are so inclined, have at it. 😉